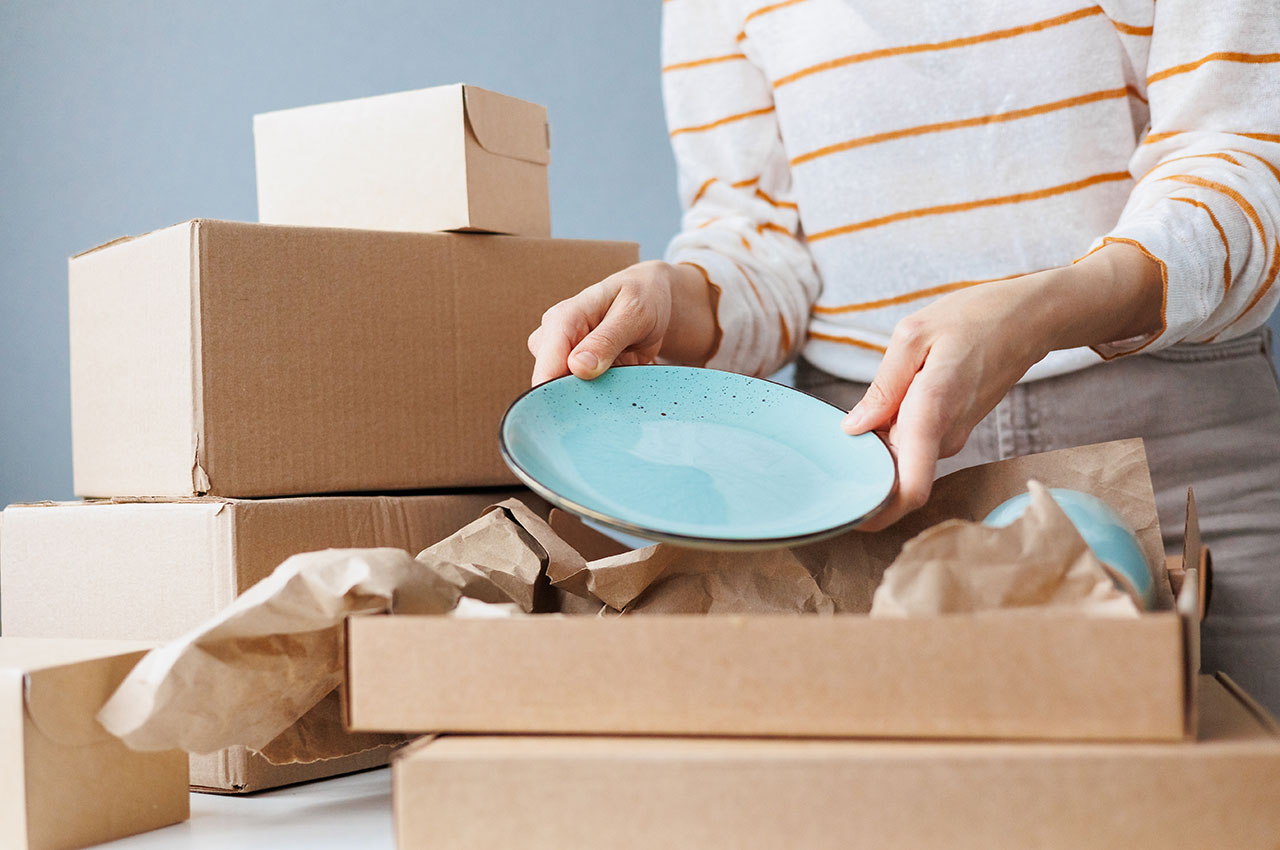
How to pack plates for moving: our step-by-step guide

Studies reveal that moving house ranks as the most stressful life event – above divorce and having a child! Not to worry though – you can limit this stress by ensuring your fragile belongings are safely transported, whether that’s with a man with a van or removal service. This means learning how to pack plates for moving in order to protect them during transit and reduce the risk of any unwanted surprises when unpacking items at the other end of your journey.
Avoiding breakages
Damage and breakages are not just an inconvenience either, they can be costly and dependent on the amount of breakages and the value of those items this can add to your overall moving cost. Hence why packing correctly is essential, particularly for fragile items like plates, bowls, glasses and so on… So where do we start with packing fragile plates?
Required materials for packing plates
Boxes
Whether these are new or used it doesn’t matter. As long as your boxes are sturdy and won’t break or split, they should be suitable for the job. You can buy them or acquire one at local supermarkets, where they often have surplus after the tills.
Packing paper or newspaper
Remember: if you use newspaper you will have to wash your plates as ink will have soaked onto them. This is important if you are packing plates that are particularly delicate or valuable.
Parcel tape
We advise not to simply use cello tape as this is not strong enough and it is highly likely that the box will open at some point during transit.
Labels and Marker pens
Finally, labels and marker pens will be required to accurately identify the content of your boxes.

Box preparation
Step 1
All boxes need to be reinforced with packing tape. Add at least 2 layers depending on the box’s strength and the weight of your plates. Once you’ve done this, test the strength by pushing the bottom with your hand and seeing whether it’s secure.
Step 2
Next, get your packing paper or newspaper and scrunch these into balls. Use multiple sheets per ball, this will be used to line the bottom and top of your box.
Step 3
Now take your reinforced box and line the bottom with the scrunched-up paper. We don’t recommend using bubble wrap as this is expensive and not easily recyclable. Fortunately, there are many environmentally friendly alternatives.
Wrapping your plates and boxing them up
- Have your packing paper to hand and ensure that the sheets you have a large enough for packing your plates. You should stack all your packing paper as this will make wrapping quicker.
- Put your first plate in the middle of the top sheet of packing paper. Fold a corner of the sheet over the plate until it is completely covered.
- Take the next plate and place it on top of the other one. Then wrap the remaining 3 corners of the packing paper over plate. Make sure the plate is completely covered.
- Use packing tape to secure the packing paper in place.
- Place the wrapped dishes into the prepared packing box, make sure to put them on their side. This is because plates can sustain more force on their edge than if they were laid flat. So, if the do encounter any pressure they are less likely to be damaged.
- Continue to wrap and place the plates in the box as per the instruction above. Keep doing this until the box is tightly packed.
- If there is still wiggle room in the box, use packing paper to fill these voids. You want the plates to be secured and there to be no movement. This will reduce the chances of damage.
- Use your scrunched up packing paper to line the top of the box.
- Close the box and securely shut it using your tape. Like on the bottom, use at least 2 layers to ensure it is securely closed.
- Using labels or your marker pen label the box as appropriately and add the location too. Also, ensure the box is clearly labelled fragile so everyone knows to take care when handling the box.

Start thinking about the size of van you’ll need
Once all your boxes are ready to go you should check that you have the right size van for the job. Count all your boxes and check the rough size of each box. Double check this against the internal dimensions of the van you have chosen.
Top tip: Always add 10% to what you think the volume of your belongings will be. This will ensure that all your items will fit as you don’t want to be doing loads of trips if you don’t have to!
Loading up the van
In the case you have rented a moving van it is essential that you load the van correctly to prevent damage and breakages. All boxes which are marked as fragile should be placed where there are no heavy items bearing load onto them. This means placing heavier items on the bottom and lighter items on the top.
What about excess space?
If you have space in the van, it is best to put your boxes of packed plates on the floor and ensure they are secure and won’t move around during transit. This reduces any risk of them falling from height.
However, if there is limited space the boxes should be placed on top so that there are no heavy loads bearing weight on them. Make sure to secure the boxes, though, as you do not want them to fall from height.
You’re good to go!
There we have it, all the tips and tricks on how to pack plates for moving. In essence, you will need to exercise great care when wrapping plates, use the right materials and load them carefully into your chosen vehicle. For more moving advice and inspiration, check out the rest of our specialist blog.
